iOS - Creating a Distribution Certificate and .p12 File
A distribution certificate identifies your team/organization within a distribution provisioning profile and allows you to submit your app to the Apple App Store.
A .p12 file contains the certificates Apple needs in order to build and publish apps.
The steps below will guide you through the process of creating an iOS Distribution Certificate and .p12 file. To read more about certificates and how they work in Apple's App Store, please visit the iOS Dev Center and consult the official Apple documentation.
Note: These steps must be done on a Mac that you will use to submit and publish your apps to the Apple App Store. While you can transfer access to another Mac computer, we recommend following these steps on the actual machine you will use to submit apps.Before You Begin
- Identify which Mac you will use to submit apps to the Apple App Store
- Be sure to sign-up for an iOS Developer Account
- Make sure you have created an App ID in iTunes Connect (for more information, read the article "iOS - Creating an App ID.")
How to Create a Distribution Certificate
1. On your Mac go to the folder Applications > Utilities and open Keychain Access.
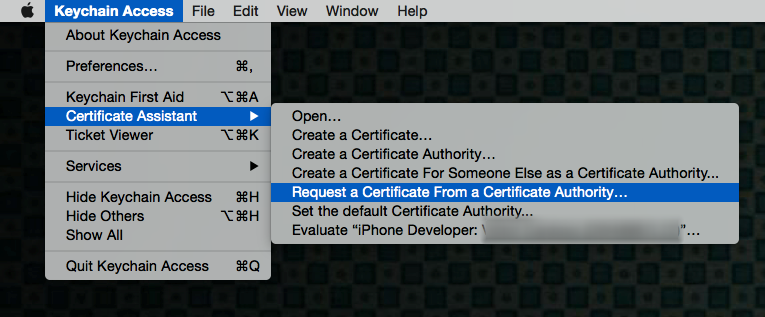
2. Go to Keychain Access > Certificate Assistant > Request a Certificate from a Certificate Authority.
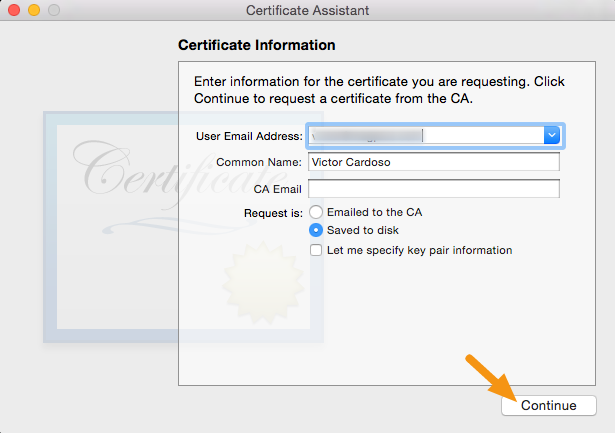
3. Fill out the information in the Certificate Information window as specified below and click "Continue.".
- In the User Email Address field, enter the email address to identify with this certificate
- In the Common Name field, enter your name
- In the Request group, click the "Saved to disk" option
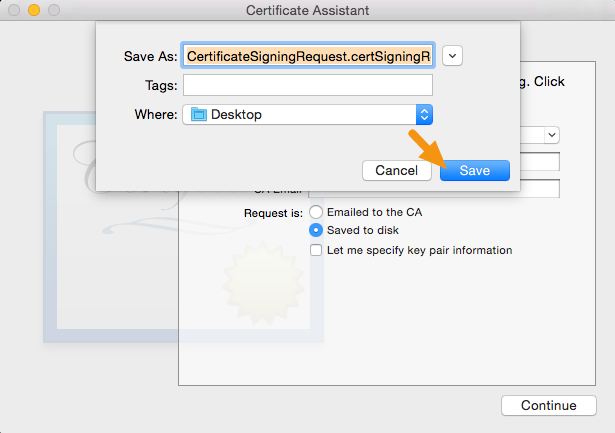
4. Save the file to your hard drive.
The assistant creates a Certificate Signing Request (CSR) file which contains a public/private key pair.
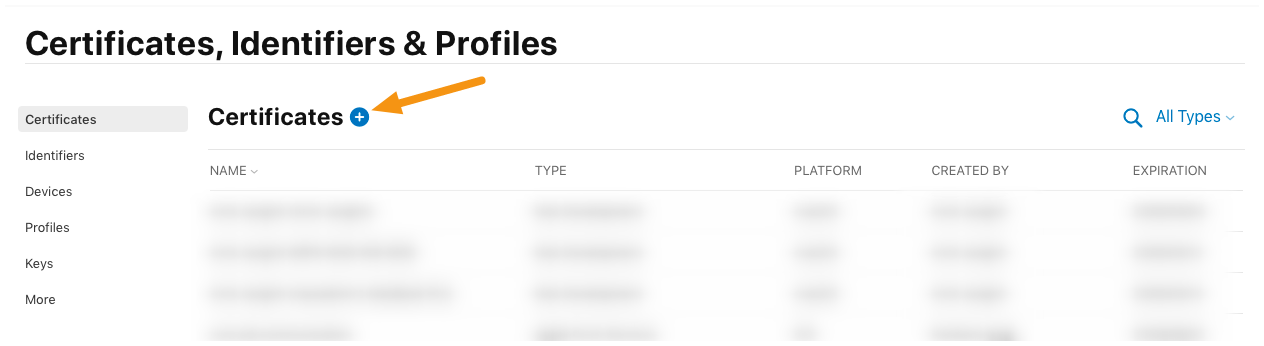
7. Go to Certificates and click on the "+" button to add a new certificate.
8. Select "App Store and Ad Hoc" from the Production options and click "Continue."
Note: To use your certificates, you must have the intermediate signing certificate in your OS X system keychain. This is automatically installed by Xcode. However, if you need to reinstall the intermediate signing certificate click the link at the bottom of the page.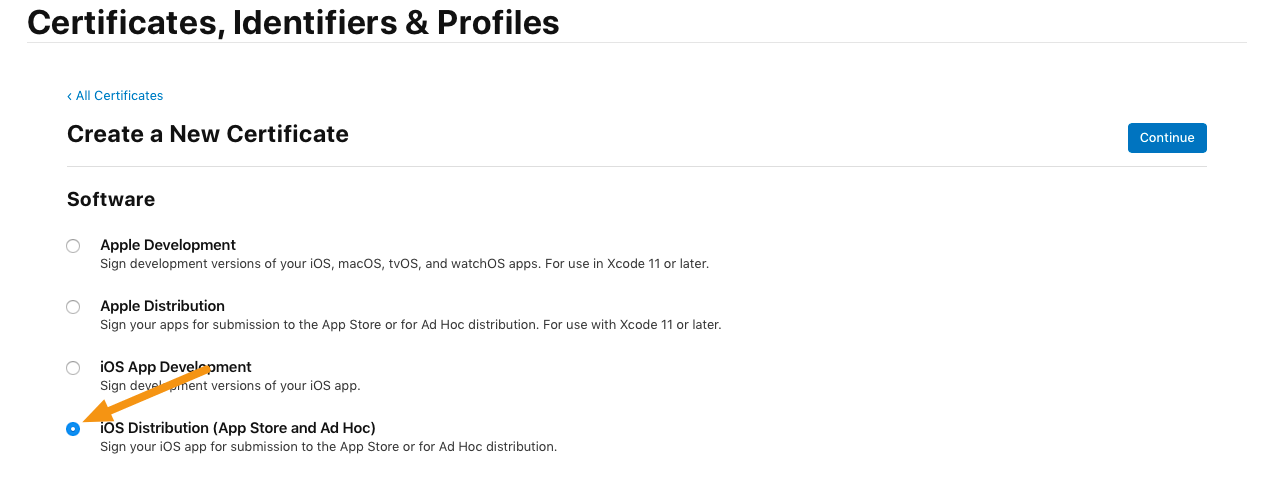
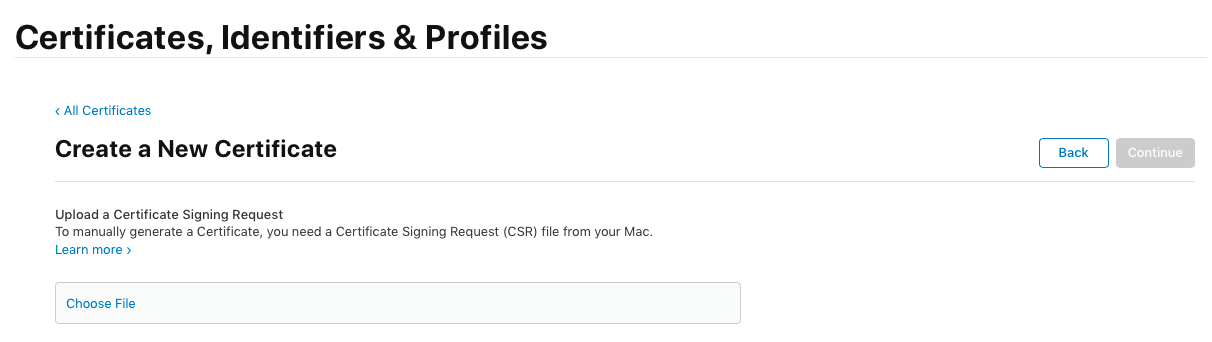
9. Click on "Continue" again.
You created your CSR file in the previous steps, so there's no need to create another one.
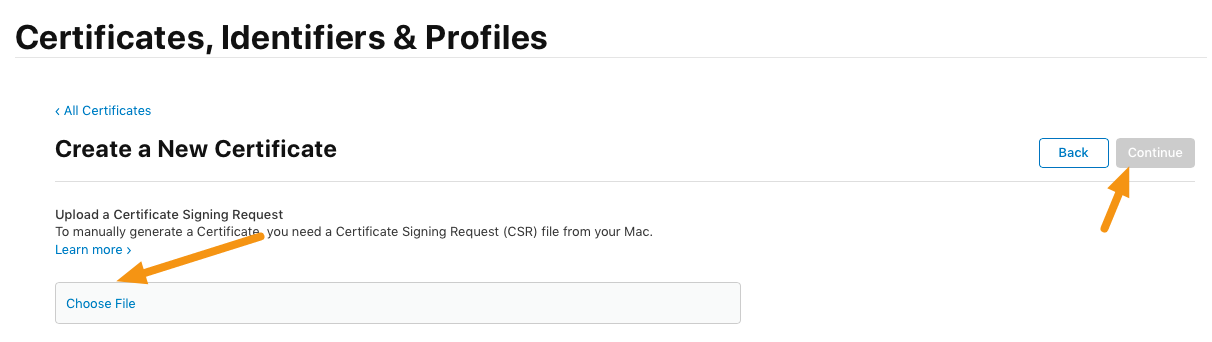
10. Click on "Choose File" and select the CSR file you created previously and then click on "Continue."
11. Click on the "Download" button to download a .cer file to your machine and then click "Done."
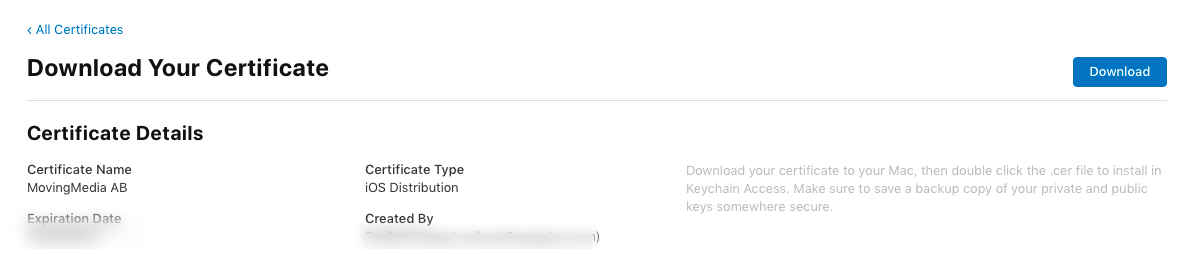
12. Double-click the .cer file to install it in Keychain Access.
It will have the name "iPhone Distribution <firstname> <lastname>" and will expire one year from today's date.
How to Export a Distribution Certificate as a .p12 File
A .p12 file is a specially-formatted and encrypted file that contains your distribution certificate. It's embedded by the mag+ Publishing portal when building your app. iTunes Connect checks for this file when you submit an app and will only accept the app if it contains a .p12 file that matches what you have configured in your iTunes Connect account.
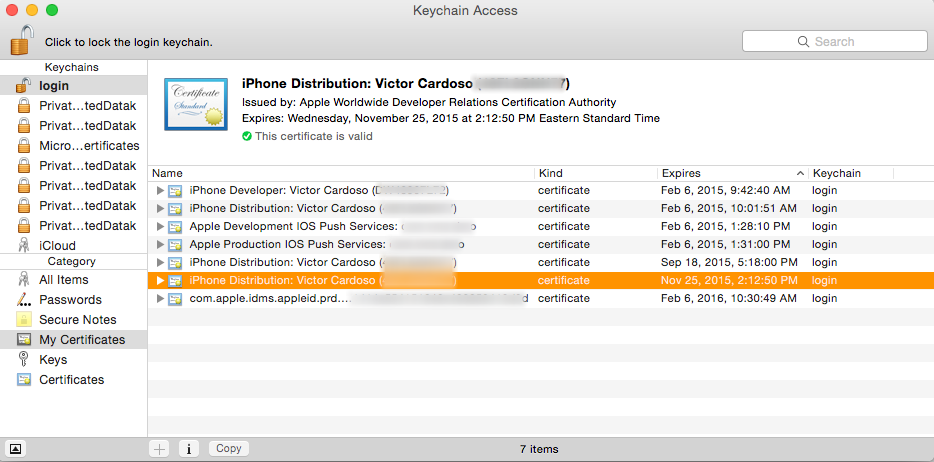
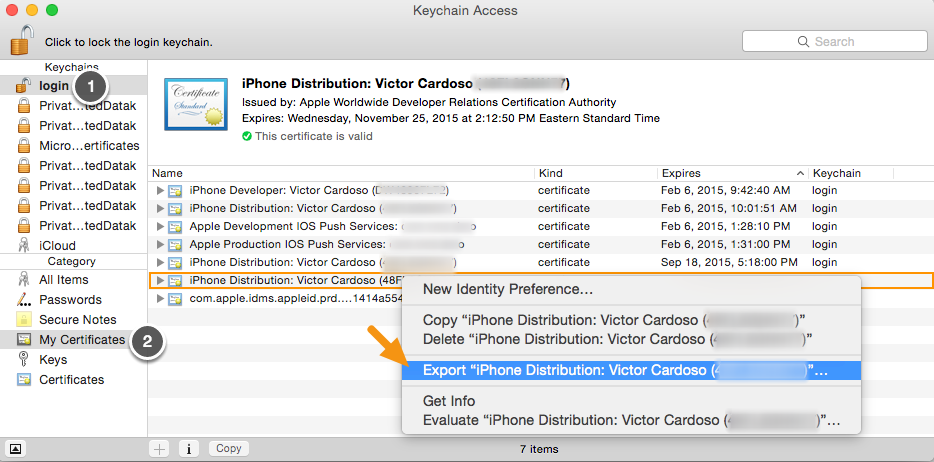
1. On your Mac, launch Keychain Access, select the certificate entry and right-click on it to select "Export."
All certificates you have installed will be in the "login" keychain (Label 1) under the category "My Certificates" (Label 2).
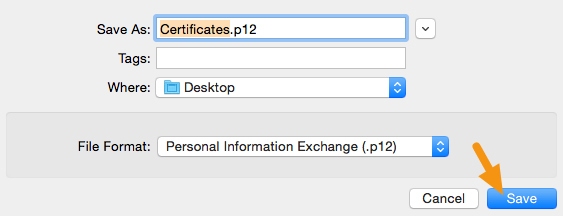
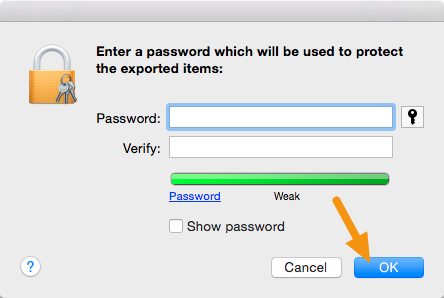
2. In the window that appears, make sure the File Format is set to "Personal Information Exchange (.p12)" and click on "Save" to save it to your machine.
3. When asked for a password, leave it blank and click on "Ok."
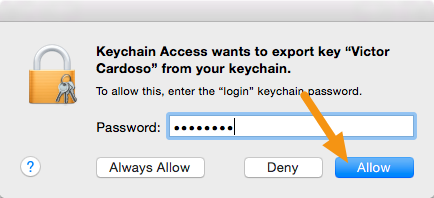
4. When asked for the computer password, enter it and click on "Allow."
5. Your .p12 file will be saved in the location you specified.
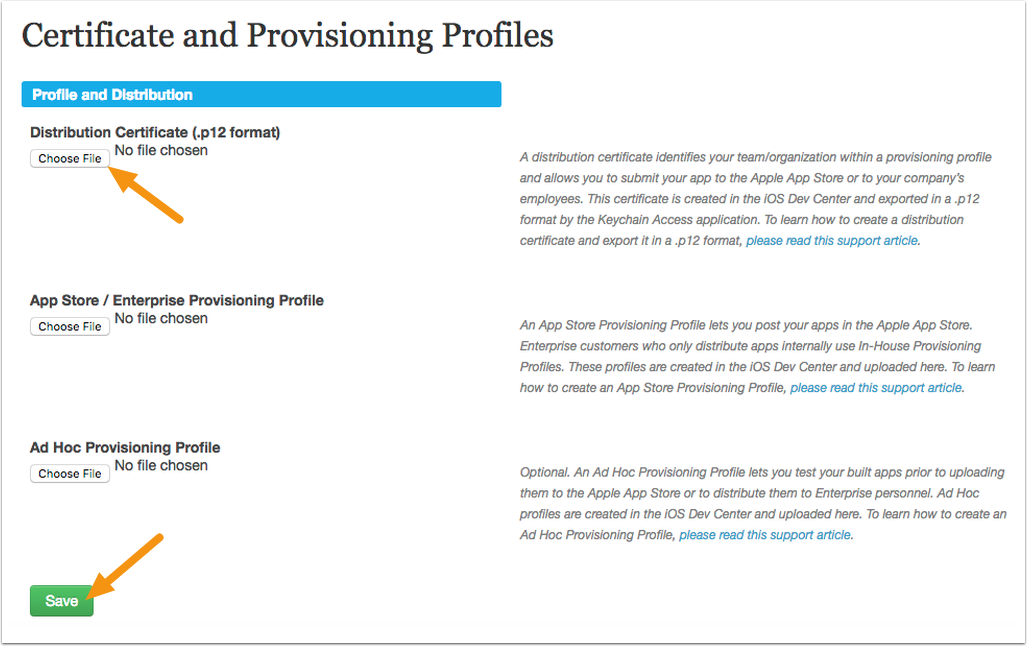
6. Login to the mag+ Publish portal and go to Apps > iOS > Certificate and Provisioning Files.

7. Click on "Choose File" under the Distribution Certificate heading, select your distribution certificate, and click on "Save."
App Creation: Next Steps
Creating distribution certificates and .p12 files is only one step in creating an iOS app for distribution. Please refer to the additional articles in this section for information on setting up provisioning profiles and configuring in-app purchases. These items correspond to settings in the mag+ Publish portal. The portal will actually build your customized iOS app. You will then upload this app to the Apple App Store or to your own internal distribution servers (for enterprise customers only).
Source: iOS - Creating a Distribution Certificate and .p12 File – Mag+ Designd Support (magplus.com)


 Python